Followers

Friday, August 25, 2023

Rebel Canning


Rebel Canning!  Okay, let me preface this by saying the USDA would probably frown on using unauthorized jars and lids as well as the lids being REUSED.  SO!  Should you decide to be a rebel, think long and hard.  

Now!  That being said;

Lately, I've been buying 100 percent organic lemon juice in 32 oz glass bottles.  I'm a bottle freak.  I love glass bottles.  I hate to throw them out.  I know they can be "recycled", but I've seen way to many exposes showing all the recycling we do ends up in the landfill with all the other trash.  I'd rather find a use for them.  

Now in order for these to qualify for canning use; they have to be the right size( 32 or 16 Oz), glass, have a metal lid with a rubber lining that can seal, and that lid has a little button in the center that will pop down when the jar is sealed( you canning folks will know what I'm talking about).  These jars met all criteria.  In fact I was very pleased with the thickness of the rubber lining.  

Now I would only do this with high acid foods that can be waterbath canned. There is no way to know if these bottles would hold up to pressure canning anyway.  These jars were intended for juice, so juice is what I used them for.   I followed all other instructions offered by Ball canning for canning tomato juice.  


And Voila!

Friday, August 18, 2023

Sourdough Starter; Not as Hard as I Thought!

 Throughout my 30 some odd years of running my own household, despite taking on challenges of bread making, canning, etc; one thing always struck fear into my heart: The dreaded sourdough starter.   I'd tried a few times and they all died.  Just like those that say they have a black thumb, I stopped trying so as not to become a serial starter killer.  I'd resigned myself to always needing store bought yeast and baking powder to have a successful result.  

BUT!  All is not lost!  My wonderful niece in Tennessee gifted me some of her starter.  Her starter had come from someone else's, and so on and so forth all the way back to Italy centuries ago.  It was a really strong starter.  Surely I couldn't kill that!  Yea.  Not so fast.  I did!  Mrs. Ox, if you're reading this, don't hate me!  Totally not my fault!  I kept it going for a while.  So much so that I needed to take a rest from the starter.  I checked online and it said you can freeze sourdough starter.  So I did.  Problem is when I took it out it was weak!  

I fed it and worked with it and finally got it back to okay, but it wasn't the original starter.  It never was right again(Sigh).  So the bad news is that starter has gone to that big crock in the sky.  Fortunately, my niece still has hers so it goes on through the next century.  The one thing good that came out of this experience was the feeling that I could, maybe, just maybe start my own starter!  So I did.  Apparently I had learned enough in keeping him alive( yes, he was a guy; Ceasar.  Et Tu Brutes?) to begin again.  I say ALLLLLL this to share how and also the fact that sourdough doesn't have to be scary!  Let me save you from that worry at least. 


So here goes!  

1.  First off, I didn't want to have to buy distilled water to do this.  With having city water, I'd need to do that first.  Or do I?  I'm into saving money and convenience.  So since I didn't want to buy water, my first step was to fill a glass jar ( any size with a lid, but even that is optional. Plastic wrap is an option as well) with water from the tap.  Sit the lid on top or loosely cover with wrap.  Let sit out on the counter overnight.  This allows chlorine to dissipate from city water treatment.  This water can be used anywhere distilled or filtered water is called for.  

2.  The next morning, measure out the flour.  Doesn't have to be much; about a half cup or so.  Put the flour in another glass jar or crock( not the one with water).  A quart size mason jar is a good choice.

3.  Add the "distilled" water to the flour you just measured out.  Add enough water to make a batter about the consistency of pancake batter.  Start with a little water and add more as necessary.  It just needs to be the consistency of pancake batter.  

4.  Cover loosely with either a lid, wrap, or towel. 

5.   Let it sit on the counter about 12 hours.  I've always heard 24, but it stays warm in my house during the summer.  As a result the yeast forming is very active and needs food.  When it stops bubbling, I feed it again.  In colder months this will be longer.

6.  TO FEED IT:  You don't have to discard starter to feed it again, but realize you will need to add enough flour and distilled water to match the amount of starter you have already in the jar.  If you don't want to discard, I suggest moving your starter to a bigger glass container or crock.  If you do plan to discard, I have some easy recipes to use the discard.  Discard or not, to feed the starter simply add enough flour and water to match the amount in the container and keep it about the consistency of pancake batter.  Repeat this process for a few days until your starter is good and strong.  You will at some point have to discard and use it, but see below for two things to do that aren't bread.  They are very good, and easy.  

7.  DON'T USE METAL.  It reacts for some reason to the starter.  Keep it glass or a crock.  

8.  If you don't want to have to use/ feed it daily, you can put it in the fridge for up to a week between feedings.  

USES FOR DISCARD

1.  Sourdough Pizza.  Easy!  Put cast iron pan in a cold oven.  Preheat to 375 degrees.  Once your oven is preheated so is the pan.  Remove the pan and pour in a little olive oil.  Spread it around to coat the pan.  Pour about 1 cup of sourdough starter into an 8-9 inch cast iron pan.  Use a fork to help spread it if needed, but sometimes you can just angle the pan to spread it around.  Top it with a little salt.  Put it back into the oven to bake.  It won't take long, maybe 10 minutes.  Prebake it until it's no longer shiny.  Remove from oven.  Top it with whatever toppings you want and put back into the oven to bake as usual

2.  Sourdough crackers -  1 cup flour, 3 TBS olive oil( or oil of choice), 1 tsp salt, 1 cup of starter.  Mix all together.  Put in the fridge a few hours.  Roll out as thin as you can.  I use silicone baking mats to roll mine out and then pick up the mat and put it on my cookie sheet.  So much easier this way.  Cut the crackers before baking.  Salt the tops and roll the rolling pin over lightly to press the salt in.  Bake 350 for 10-12 minutes until golden brown.   I've varied these a lot.  I've added  Tbs of my homemade spaghetti sauce mix to the crackers instead of salt.  I've used cornmeal instead of the cup of flour to make a tortilla chip substitute.  I've used coconut oil(in place of olive oil), 1/3 cup of sugar, and a tsp of cinnamon to this recipe then made graham crackers.  Just use your imagination.  

I'm still learning about all t his, so any tips or trick would be appreciated.  Please comment below!  What works for you?  

Monday, August 14, 2023

One of the Best Things to Save Money

 FRUGAL TIP!  Make your kitchen a place of projects!  Whatever you're able to make yourself, saves money and is healthier over what is bought at the store.  I had this thought today as I was making coffee, feeding my sourdough starter, mixing sourdough cracker dough, grinding wheat berries for flour, making yogurt and sweetened condensed milk ( for coffee creamer), plus putting up the jars of tomato sauce and tomato juice I canned last night.  These were projects in my kitchen.  Many of these projects were short in time.  Others were short in hands on time.  All of them save me in some way at the store. 

Your grocery needs aren't mine, but the more items you can make from your grocery list with basic ingredients, the better off you'll be.  I also understand time constraints.  Working a full time job can make this hard to do, but it isn't impossible.  Everything I do now was done prior to quitting my full time job to come home in 2015.  We had to know we were going to make it on my husbands income, which was around $35,000 then.  We lived off of his income alone;  Mortgage, utilities, groceries, etc. came from his check.  Mine was used to pay off debt; a car, credit cards, and a student loan. In addition, many of the things I've learned I've learned from online research, BOOKS, and asking questions.  There are so many things we just assume we have to buy at the store in order to have them for our use.  That just isn't the case.  Time doesn't have to be an issue to get started.  

Short in Time

Chocolate syrup

Pancake syrup

Making spice mixes;  Spaghetti sauce mix, Taco seasoning, Pumpkin pie spice, Poultry Seasoning, White sauce mix, Biscuit mix, etc.

Mixing up freezer biscuits (way better than store bought)

Making mayonnaise/ or salad dressing

Feeding sourdough

Mixing sourdough crackers

Making coffee creamer( with already prepared sweetened condensed milk)

Short in Hands on time

Mixing bread to rise.  It will have two rises.  One 30 minutes, then punch down, rest 10 min, shape, and final rise to double in size.

Making cookies or crackers- these doughs can be mixed ahead of time and then wait in the fridge for later baking

Making granola (to replace cereal)- takes minutes to mix up.  Then just a matter of 20 minutes in the oven. 

Things that take time

Pressure canning- Prep time, but mainly because you have to stay close to keep the pressure gauge steady

Water Bath canning- the actual prep of the items you're canning.  Then getting it to boil and setting the timer.  Once it boils you can go do other things until the timer goes off.  

Baking the bread, cookie, or cracker dough-  Just in watching to make sure they don't burn! 

Making tortillas-  mostly in cooking each one.  Other than night, not too bad.

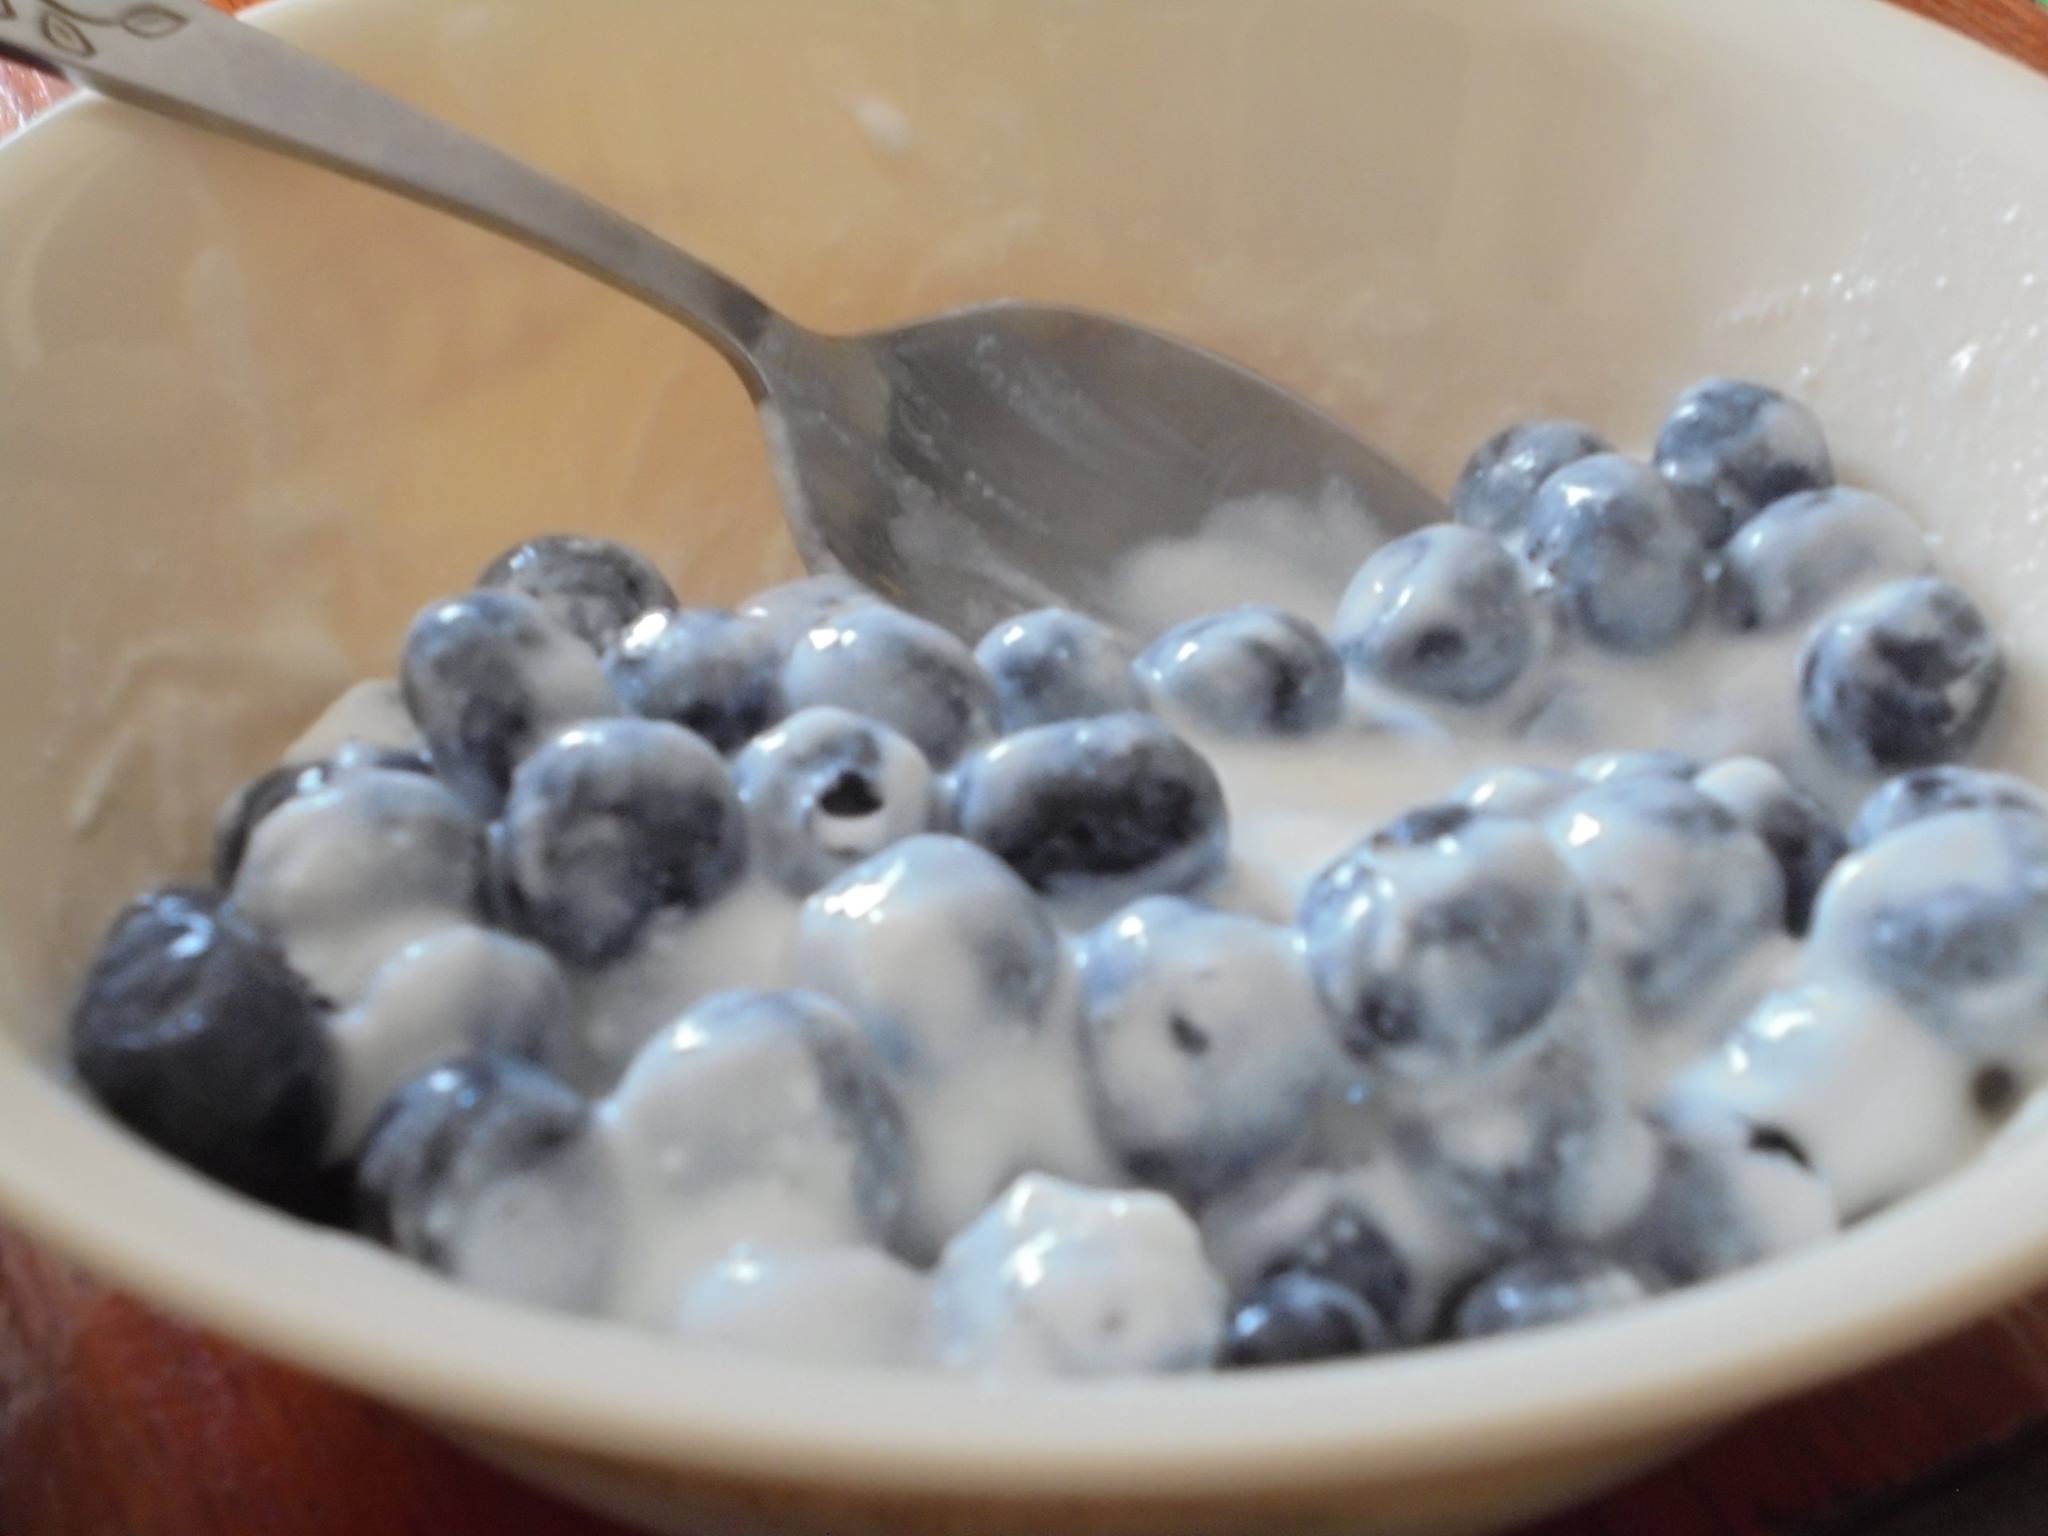
Making yogurt.  Have to get the temp to 180 and keep it there for 30 min.  Then it has to come down to below 110.  You can do other things while you check the thermometer periodically.  Then it just sits for 10-12 hours.  The bulk time of making yogurt is in getting the temp right.  The rest is just a culture process

These are just examples.  These can be mix and matched easily.  You can do many of the quicker tasks while working on the longer tasks.  Many things can be done ahead of time such as mixing bread dough and putting it to rise in the fridge until you can get to it after work.  


                                                    Chocolate chip chocolate Pumpkin cake    


                                                                     Canned Carrots

                                                                          Ketchup

                                                                    Refried Beans


Tortillas


Crackers


                                                                             Yogurt


Fresh Bread

I say all of this to emphasize my point that it is possible to save even more at the grocery store than with store sales alone.  Start with the small things and work your way up.  But start!  It's what I did.  The object is to start.  Please share pictures of your own projects!  I'd love to see and read about them in the comments below.  Thanks!